
Preventing excess moisture is the primary reason for installing exhaust fans in bathrooms. Over time, gunk, dust, and grime build up in the fan, and it lacks lubrication from use which slows down the fan’s motors. This lack of lubrication causes friction, which is responsible for the squeaky sounds the fan makes; no one likes this sound. When this happens, the exhaust fan needs lubrication. Therefore, how to oil a bathroom exhaust fan is one of the essential DIY skills required in the home.
You can use the following to oil a bathroom exhaust fan:
You’ll also need:
To unscrew the screws on the vent cover.
To suck out all the dust and dirt lodged in the vent.
To clean and wipe the blades of the fan.
To clean the vent, blades, and fan cover.
This is to lubricate the motor of the fan. Some lubricating oils have both lubricating and cleaning properties; they clean dust and grime and lubricate. Some fans require certain oils for lubrication. It is essential to read the manual to know what kind of oil your fan needs.
Oiling a bathroom exhaust fan is a 2-in-1 task. It involves cleaning the vent, motor, and fan blades, then applying grease or lubricant. Achieving this is outlined in the following steps below.
This first step is critical to avoid electrocution. Electrical Power to the bathroom should be disconnected. To do this, locate the circuit breaker or electrical panel box in your home and turn off the connection to the toilet. You will be coming in contact with electrical wiring in cleaning and lubrication; it’s safer not to encounter any live electricity connection.
Verify that the connection is off by putting on the fan; if it does not come on, then you are good to go.
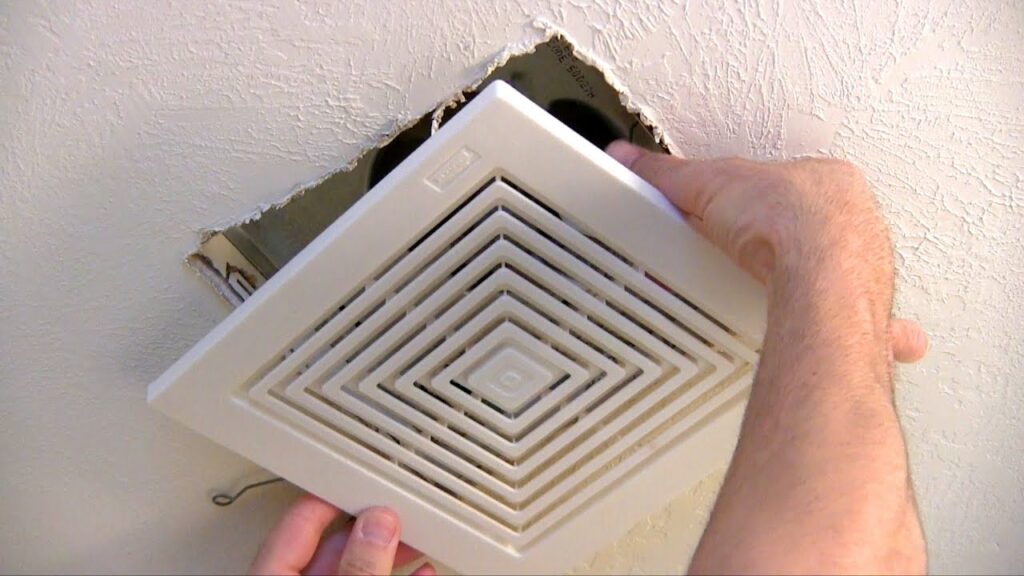
Now that the electricity connection is turned off, it’s time to remove the fan cover – this is to allow you access to get to the blades and ports to be oiled. Removing the fan cover will reveal these motor and fan blades. Usually, vent covers are held by springs and screws. They need to be unscrewed, while some are easy to remove; you’ll only need to pull them away from the ceiling or wall. Clean the cover with a cleaning solution and a soft washcloth.
It is essential to clean the vent to prevent the fan from sucking in more dust and dirt. Use the vacuum cleaner to suck or pull out dust and dirt lodged in the duct. In the absence of a vacuum cleaner, a brush can be used to get rid of the dust and dirt.
Lubricating a dirty fan is a waste of effort because a lubricating oil or agent is less effective if applied to a dusty or dirty fan. Clean the fan with a soft washcloth and cleaning agent.
Use a soft washcloth and cleaning solution to clean the fan blades. Fan blades free of dust and dirt will move and rotate faster.
This cleaning is just to be able to oil the fan. Here’s a detailed step-by-step on how to clean an exhaust fan.
This here is precisely the river we want to cross. Locate the port or shaft of the fan where it connects to the motor. Add a couple of drops of oil or lubricant to the post or port. Ensure the engine and ports are clean before this step. It is more accessible to oil a wall-mounted fan than a ceiling-mounted fan – this is because you might have oil dripping onto your face while trying to oil a ceiling-installed fan. It is therefore advised to disassemble the fan before oiling.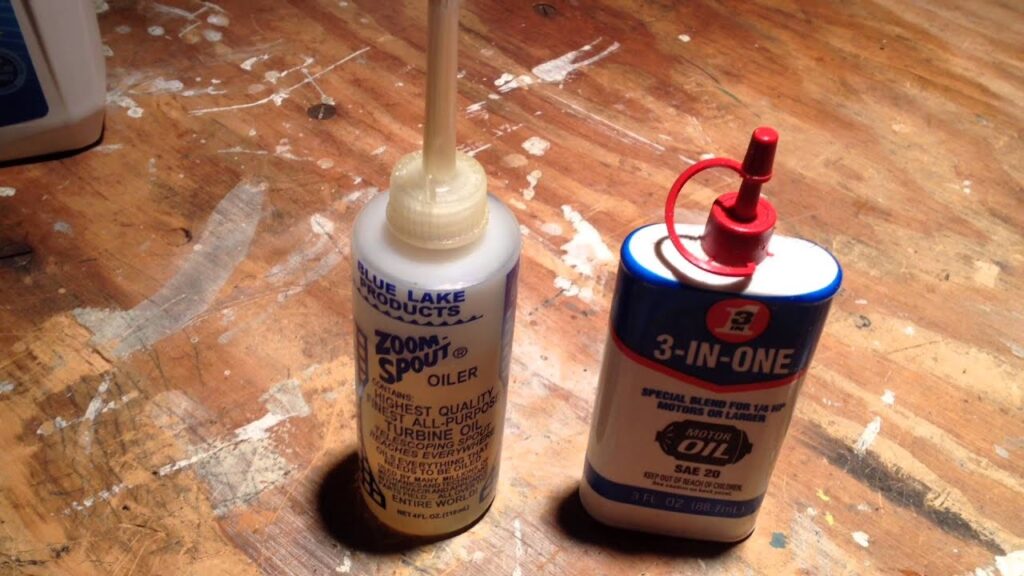
Spin the blades with your hand a few times – this helps the oil distribute evenly into the ports. Reapply more oil if it doesn’t spin easily. Use a cloth to clean up oil that drips down the motor. Leave to dry.
The disassembled parts of the fan, the blades, and the motor are to be assembled back again in the exhaust chamber. Test the fan to make sure it is working correctly.
How often you should clean and oil your bathroom exhaust fan depends on factors like the humidity level in your bathroom, the quality of the exhaust fan, and how long the fan has been in use.
A very humid bathroom will require the fan to work more in keeping the room dry. Such fan will suck in more dirt and gunk and will require more occasional cleaning. Bathroom exhaust fans to regulate moisture levels in a very humid bathroom can be found here.
The Environmental Protection Agency (EPA) Trusted Source Mold | US EPA Learn about mold and how to control it in the indoor environment.There is no practical way to eliminate all mold and mold spores in the indoor environment; the way to control indoor mold growth is to control moisture. www.epa.gov recommends keeping the relative humidity levels between thirty to fifty percent in the home.
Exhaust fans come in different qualities and sizes, depending on the brand. Some brands will require more frequent oiling than others.
Everything in life wears and tears with age, even humans. Brand new exhaust fans do not require oiling for at least five years. But as the fan ages, it might require oiling more often. Other things being equal, a two-year-old fan will work better than a seven-year-old fan.
Averagely a bathroom exhaust fan should be oiled every five years. Some newer exhaust fans do not need oiling at all because they are permanently lubricated. They do not have ports for lubrication.
Bathroom exhaust fans should be cleaned every six months.
The video guide below explains how to service and maintain your bathroom exhaust fan properly, so it serves you longer.
Knowing how to lubricate a bathroom exhaust fan is essential. It helps to extend the lifespan of the exhaust fan and saves you some money you could have paid a handyperson. When the fan motor is not properly lubricated, the friction between the blades and fan can cause overheating, leading to a fire. Bathroom exhaust fans in recent times have now been designed to do more than what it was initially intended to do. Such exhaust fans with light perform double functions. Bathroom exhaust fans need to be appropriately oiled to ensure they function correctly, and the noise is kept at the barest minimum.